Avoid light stress due to short changeover phases
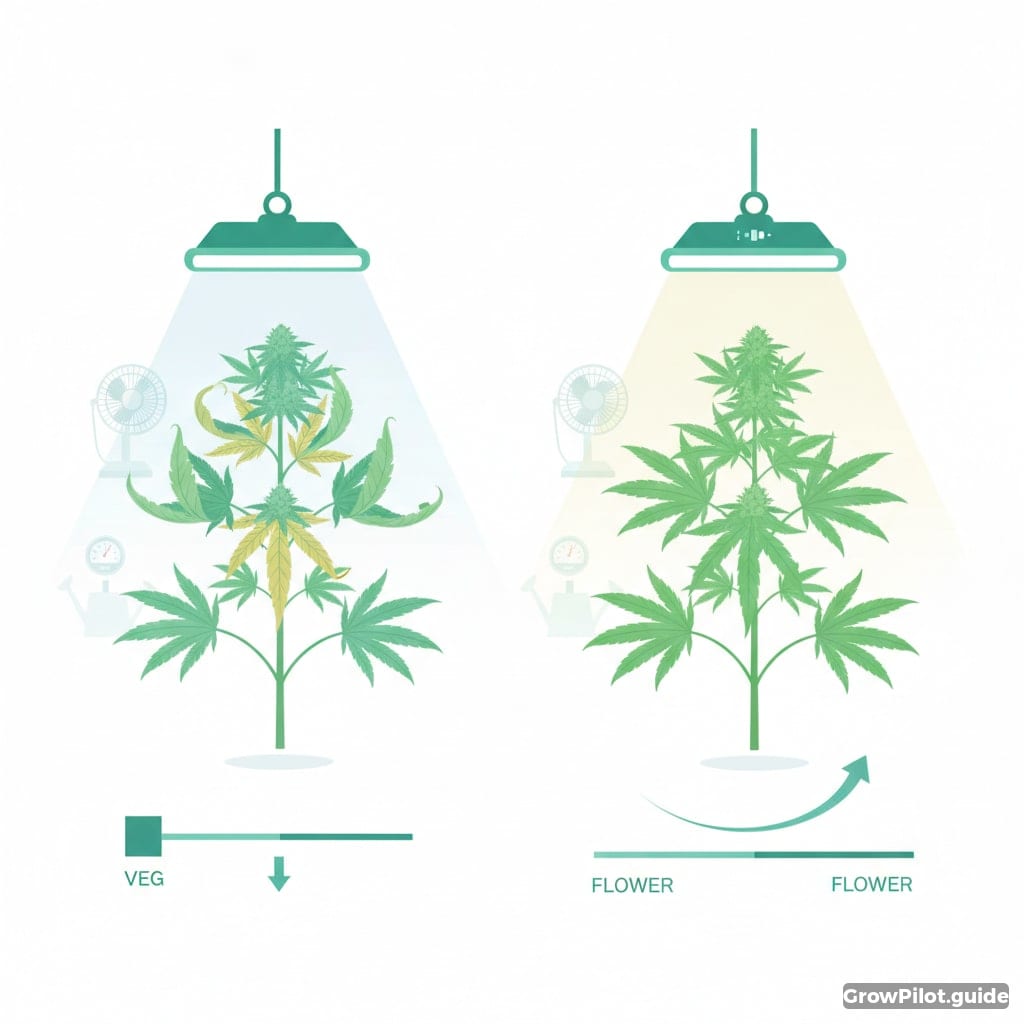
This allows you to acclimatize cannabis to new light in a controlled manner after a lamp change, height change or power increase, without risking unnecessary stress, bleaching or growth stagnation.
Introduction
Not every lighting error is caused by too much or too little power. The problem often lies in a too abrupt change in the light supply. Typical triggers are switching to a more powerful LED panel, lowering the lamp, switching on additional modules or switching from grow lighting to main lighting. This guide therefore does not deal with general PPFD basics, lamp comparisons or light cycles, but exclusively with the question: **How do you cleanly adjust the light intensity after changes?
Why abrupt light changes are problematic
Cannabis can adapt to a higher light level, but this adaptation is not instantaneous. If the photon density is increased abruptly, the risk of:
- brightened leaf tips and bleaching
- temporal growth stunting
- unnecessarily high stress on the canopy
- misinterpretations**, because symptoms such as deficiency or heat stress can occur
Sharp changes within a short period of time are particularly critical, for example if the lamp is hung closer and dimmed up at the same time.
When a changeover phase is necessary
Controlled acclimatization is advisable for
- Change from weaker to stronger lighting
- Replacing old lamps with more efficient LEDs
- Significant reduction of the lamp spacing
- Switching on sidebars or additional modules
- Moving plants from the cultivation area to the main area
Not every small correction requires a multi-day scheme. The decisive factor is how much the real PPFD at the leaf surface increases.
Evaluate changes by type
1. small intervention
Examples:
- slight dimming
- A few centimeters height correction
- small PPFD increase
Practice:
- an observation phase of 24 to 48 hours is often sufficient
- Only increase further if the plants remain inconspicuous
2. medium change
Examples:
- New main lamp with noticeably higher output
- Significant lowering of the luminaire
- Relocation from weak pre-lighting to the regular veg area
Practice:
- Increase intensity in several small steps over a few days
- check the reaction of the top leaves after each step
3. big change
Examples:
- Change from old HID or weak LED technology to modern high-performance LED
- Additional light module on a small area
- very strong PPFD increase in the bloom
Practice:
- Start with deliberately reduced output or at a greater distance
- Only increase gradually after a stable reaction
- Do not make changes several times a day
How to proceed in practice
Measure the starting point
Before every changeover, you should know what the current light level is. Ideally, you should use a PAR measuring device. If none is available, at least work with reproducible manufacturer specifications, a fixed distance and an identical dimming level.
Only change one main factor at a time
If possible, change either distance or dimming level.
Why this is important:
- Reactions remain easier to assign
- Overexposure due to double jumps is avoided
- Corrections become easier
Increase in small steps
Instead of a large jump, a step-by-step approach is safer. It makes sense to increase in small, clearly comprehensible steps. With dimmable LEDs, this is usually easier than using height.
Observe after each step
Pay particular attention to the uppermost, directly illuminated leaves:
- is the leaf green visibly losing depth?
- Do the tips or leaf edges brighten?
- Do leaves appear unusually erect and rigid?
- do localized brightening occur directly under the hotspot?
If the plant image remains stable, the next stage can follow.
Classification according to phase
Seedlings and young seedlings
This phase is particularly sensitive to abrupt increases in intensity. After the change from germination or cultivation light, the main lighting should not immediately run at the final level.
Vegetation phase
During vegetation, healthy plants usually cope better with adjustments than very young plants. Nevertheless, the lighting should be gradually increased after a lamp change or a significant change in height.
Flowering phase
The following also applies during the flowering phase: more light only makes sense if the plants can handle it without stress. Proper acclimatization is particularly important after technology upgrades or shortly before high final intensity. Photoperiodic plants retain their chosen flowering cycle; autoflowers do not require a 12/12 flip.
Common mistakes
- Hanging the lamp lower and dimming it up at the same time
- Only work according to the manufacturer's wattage instead of the actual canopy intensity
- Only pay attention to symptoms when bleaching is already visible
- make strong counter-corrections immediately after stress
- Make several changes within one day
Conclusion
Good lighting consists not only of sufficient output, but also of clean transitions. If you implement light changes in a planned and gradual manner, you reduce stress, protect the upper leaf layers and utilize new light output in a much more controlled manner. With modern LEDs in particular, it is not just the target value that is decisive, but the way to achieve it.
Pro Tips
- Always start with a reserve after changing a bulb.
- Do not change the distance and dimming significantly at the same time.
- The uppermost leaves show light stress first.
- Small steps are safer than big leaps.
- Always check hotspots directly under the center of the lamp.
More Growing Knowledge & Smart Grow Help
GrowPilot.guide is the cannabis grow tracker and weed cultivation app with smart plant analysis, indoor cannabis growing guide, grow diary, community, cups and autoflower grow tracker for growers worldwide.
Open GrowPilot.guide App →